* Garage Band is only for MAC, just so you know. This tutorial is for Garage Band '08 so I am not sure how different '11 may be. (Look into iLife '11)
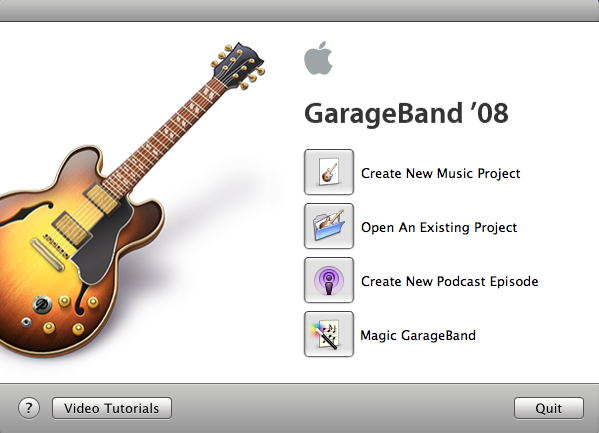
1. When you first open Garage Band you will be given some options. Choose either the Create New Podcast Episode or Open an Existing Project (if you have already been working on one).

2. In the 'Save As' box, give your project a name and then choose a location for it to be saved.
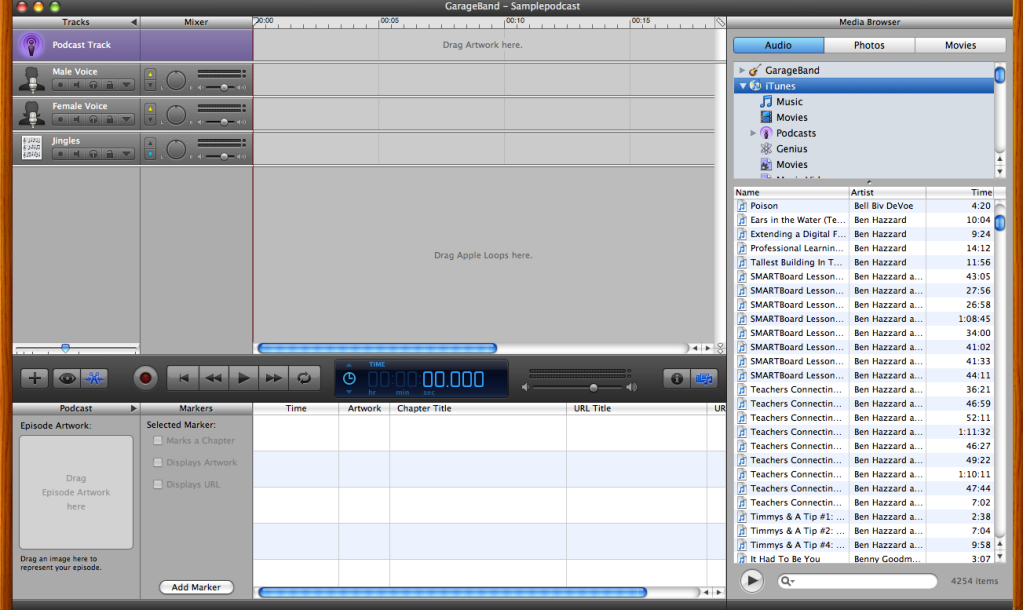
3. When the program opens it will look like this:

In the top left you will see 4 colored bars (one purple and 3 gray). The podcast track can be used to add pictures to your work. I honestly haven't used this feature very successfully and have much better success with iMovie when I want this accomplished. Just being honest :) But when you click on the podcast track, at the bottom right there will be a square where you can drag a photo and it will show during the podcast (kind of like when you play a song and the band cover shows the whole time) In this same area (lower screen) you can create chapters. There will be a column titled 'markers'. Click the 'add marker' button whenever you are ready for a new chapter to start. It will show the time, you can add a picture for that chapter, and name the title.
There is a male voice and female voice bar. These will be where you record yourself talking or insert a wav or mp3 with someone talking. The jingles bar is there for background music and sound effects.
To the right of the bar names you will see what looks like a control panel. There are two arrows, one pointing up and the other pointing down. If the arrow is clicked to point up, it will be a main track. If the arrow is pointing down then it's volume will go much lower should a main track be playing at the same time.
You can alter speaker direction from left to right and volume from this control panel. The two dark lines above the volume will show you the sound coming through your microphone. Try to keep it from going in the red to prevent distortion.
The light gray boxes to the right are where you will place or record your tracks. (more on that in a bit)
Keep going to the right and you will see a huge column titled "media browser." This is where you can pull audio clips, photos and even movies and place them into your tracks. Audio inserts mainly from ITunes.
Look in the lower middle of the screen and you will see a dark gray panel with some important icons.

The "+" button will add another track below the jingles track. You can choose software instrument if you plan on creating a track with individual instruments (not really what I used ever), or Real Instrument Track for recording your voice or adding wavs and mp3 (yes, thank you!)
The eye button will open up your jingles and sound effects. Play around and find ones that fit your purpose. They will show name and the length of the sound. Once you have found one you life, click on the name and drag it to the jingles track. It will form a box in the jingles track. This box can be dragged to any place in the project.

Be aware that if you drag a sound over another one, it will replace the old sound. If this happens you will need to go to edit in the toolbar and then click on undo. Moving the sound only will not fix the problem. Keep this in mind, especially once you have voice recordings involved.
The electric scissors looking button takes the lower panel out of view.
Next buttons are your: record, move to very beginning of project, move to an earlier place in project, play, fast forward, and repeat ( will make a yellow bar at the very time which can be moved, shortened or lengthened. What falls under the yellow bar will be repeated)
Next, the project time is shown down to the thousandths of a second.
The last two buttons pull up the project info or your media browser.
 Click one twice and the whole info or media browser is out of view. Click again to make them reappear. Under the info button, you will find different sounds for altering your voice. The podcasting and vocals under the Real Instrument tab will be most helpful.
The top toolbar will come in handy while creating your project. File, Edit, Track, and Share will be used the most. I will cover those in the next post!
So, now you at least know your general way around the program... In the next post we will discuss how to go about making a recording! See you there!

No comments:
Post a Comment